Using Groups
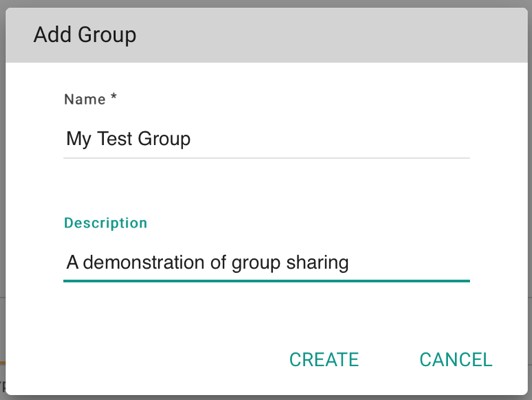
The first step in controlling access is to set up a group, i.e. a set of users who will be granted access to data, service, etc. To set up a new group, select the 
 item on the manage/share tab, then
 . this gives a popup window as shown below:

Once the group has been created it will be shown on the manage/share interface:

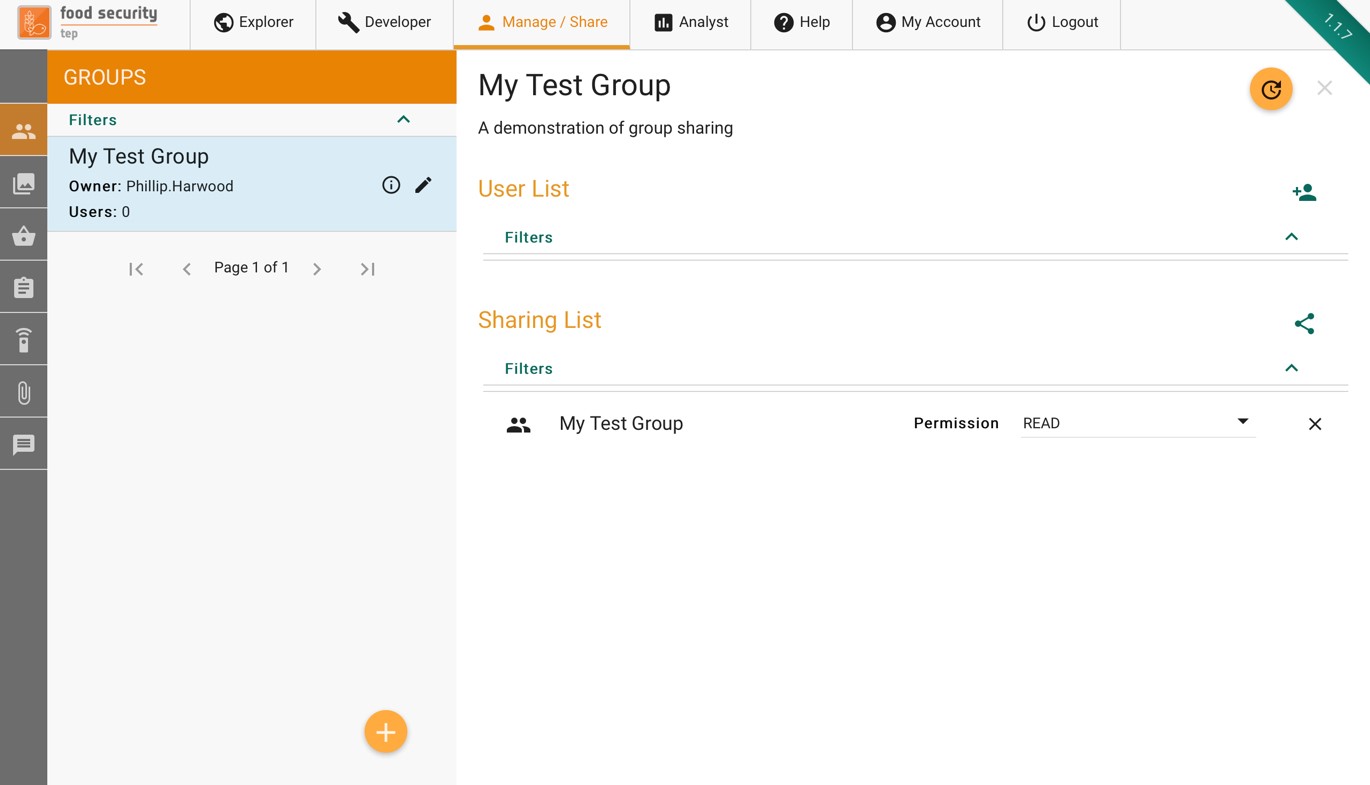
To add a new user to this group, press the 
 symbol, start typing the user name you want to add, then select the correct user from the popup list and press “ADD”.
Groups allow sharing of other things, including of groups themselves (e.g. to share the management of a group with a subset of the group as a whole).
To share a group, press the  symbol then choose the group that you wish to share it with (usually but not always the same as the group you are sharing) and the level of access granted (read, write, admin).